react-navigation的是react native中的一个导航库,可以方便实现移动开发中的导航效果。
网上很多关于react-navigation的使用文章。这里我只记录我自己使用过的。方便以后使用。
因为这样的文章太多太多,各种讲解完全没必要,而且写文章的也不一定是自己就懂。
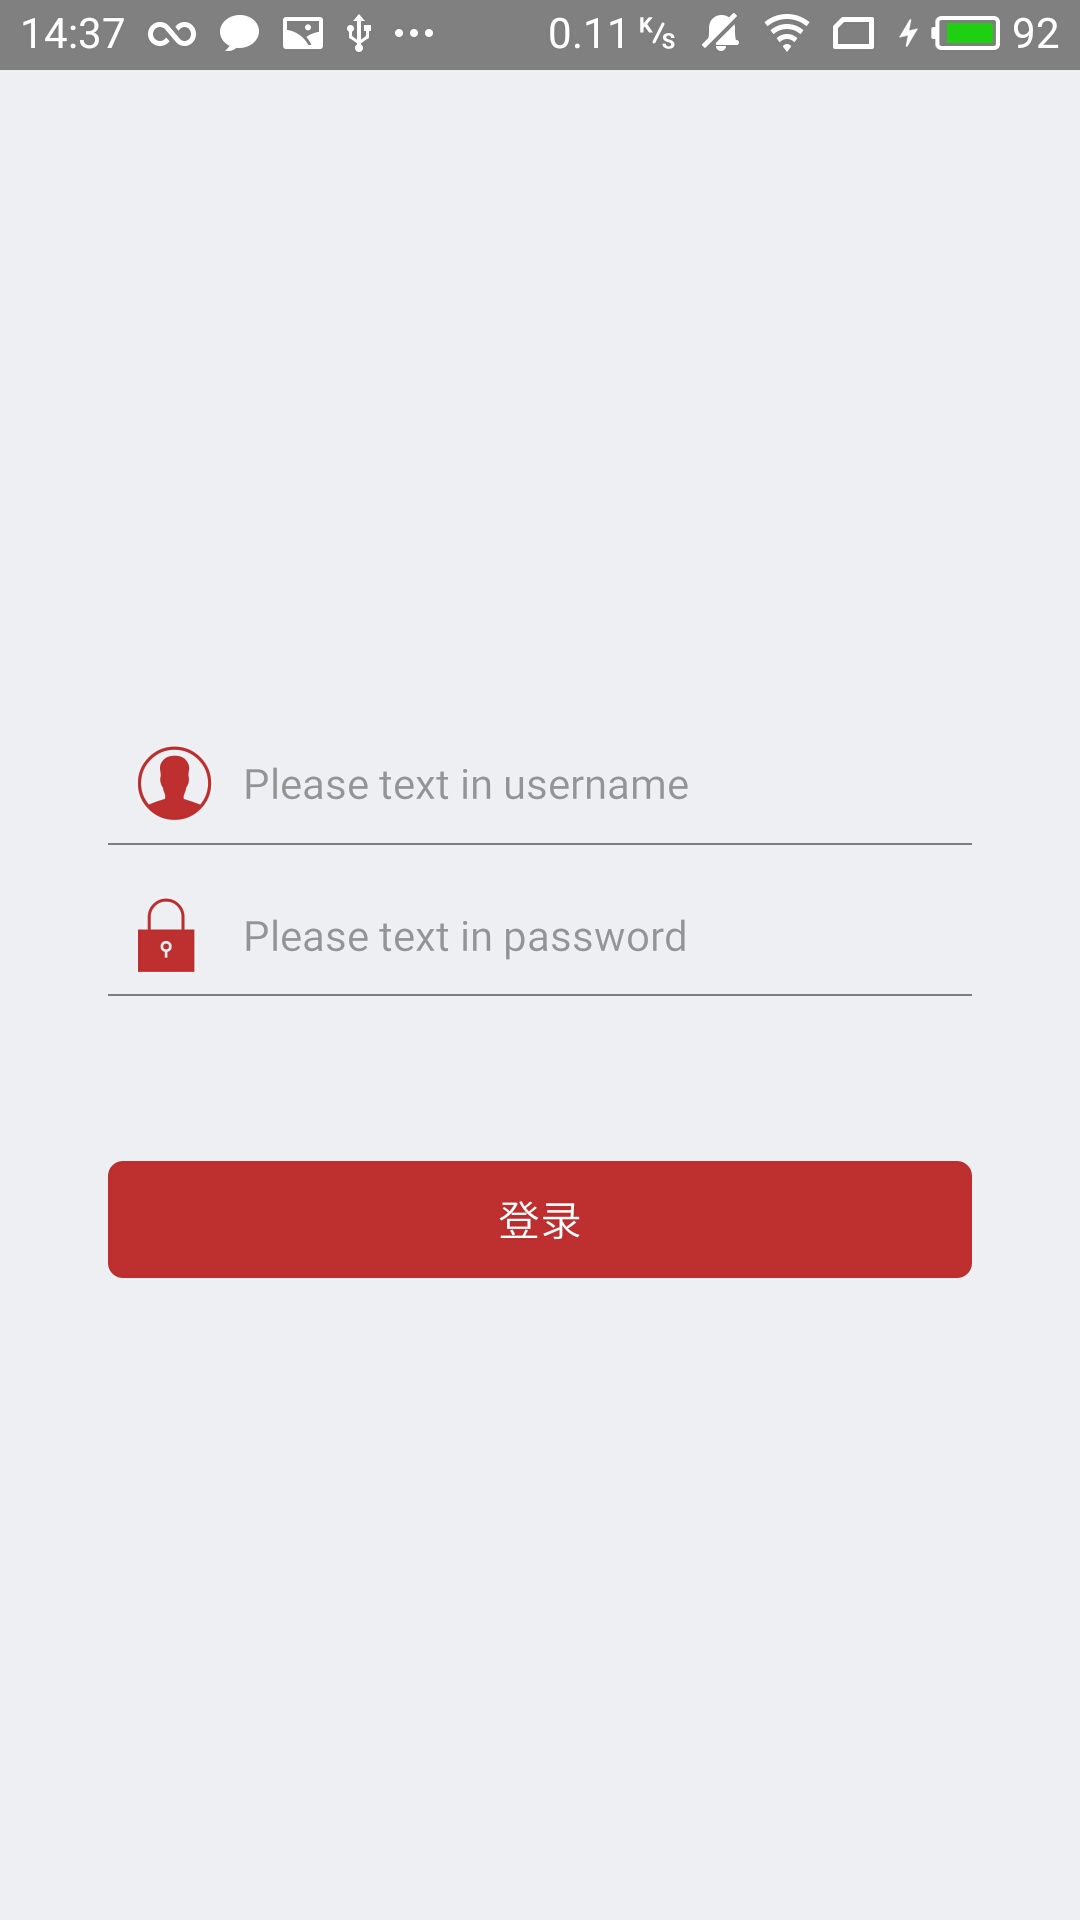
效果图

废话不多写,只贴代码。目的是,只要以后自己用的时候方便就可以。
导航栏
导入需要的控件
1 | import { |
底部导航TabBar实现代码
1 | const tabNavigator = TabNavigator({ |
整体导航,将app中进行切换的界面都放在这里
1 | export default App = StackNavigator({//这里导出的需要注册的 |
注册
1 | AppRegistry.registerComponent('ReactNavigationDemo', () => App); |
上面这些代码可以实现导航栏的切换
界面之间的切换
只需要一行代码
从下面代码里抽出来的:onPress = {()=>nav.navigate(‘home’)
1 | export default class LoginScreen extends Component { |
界面之间的传值
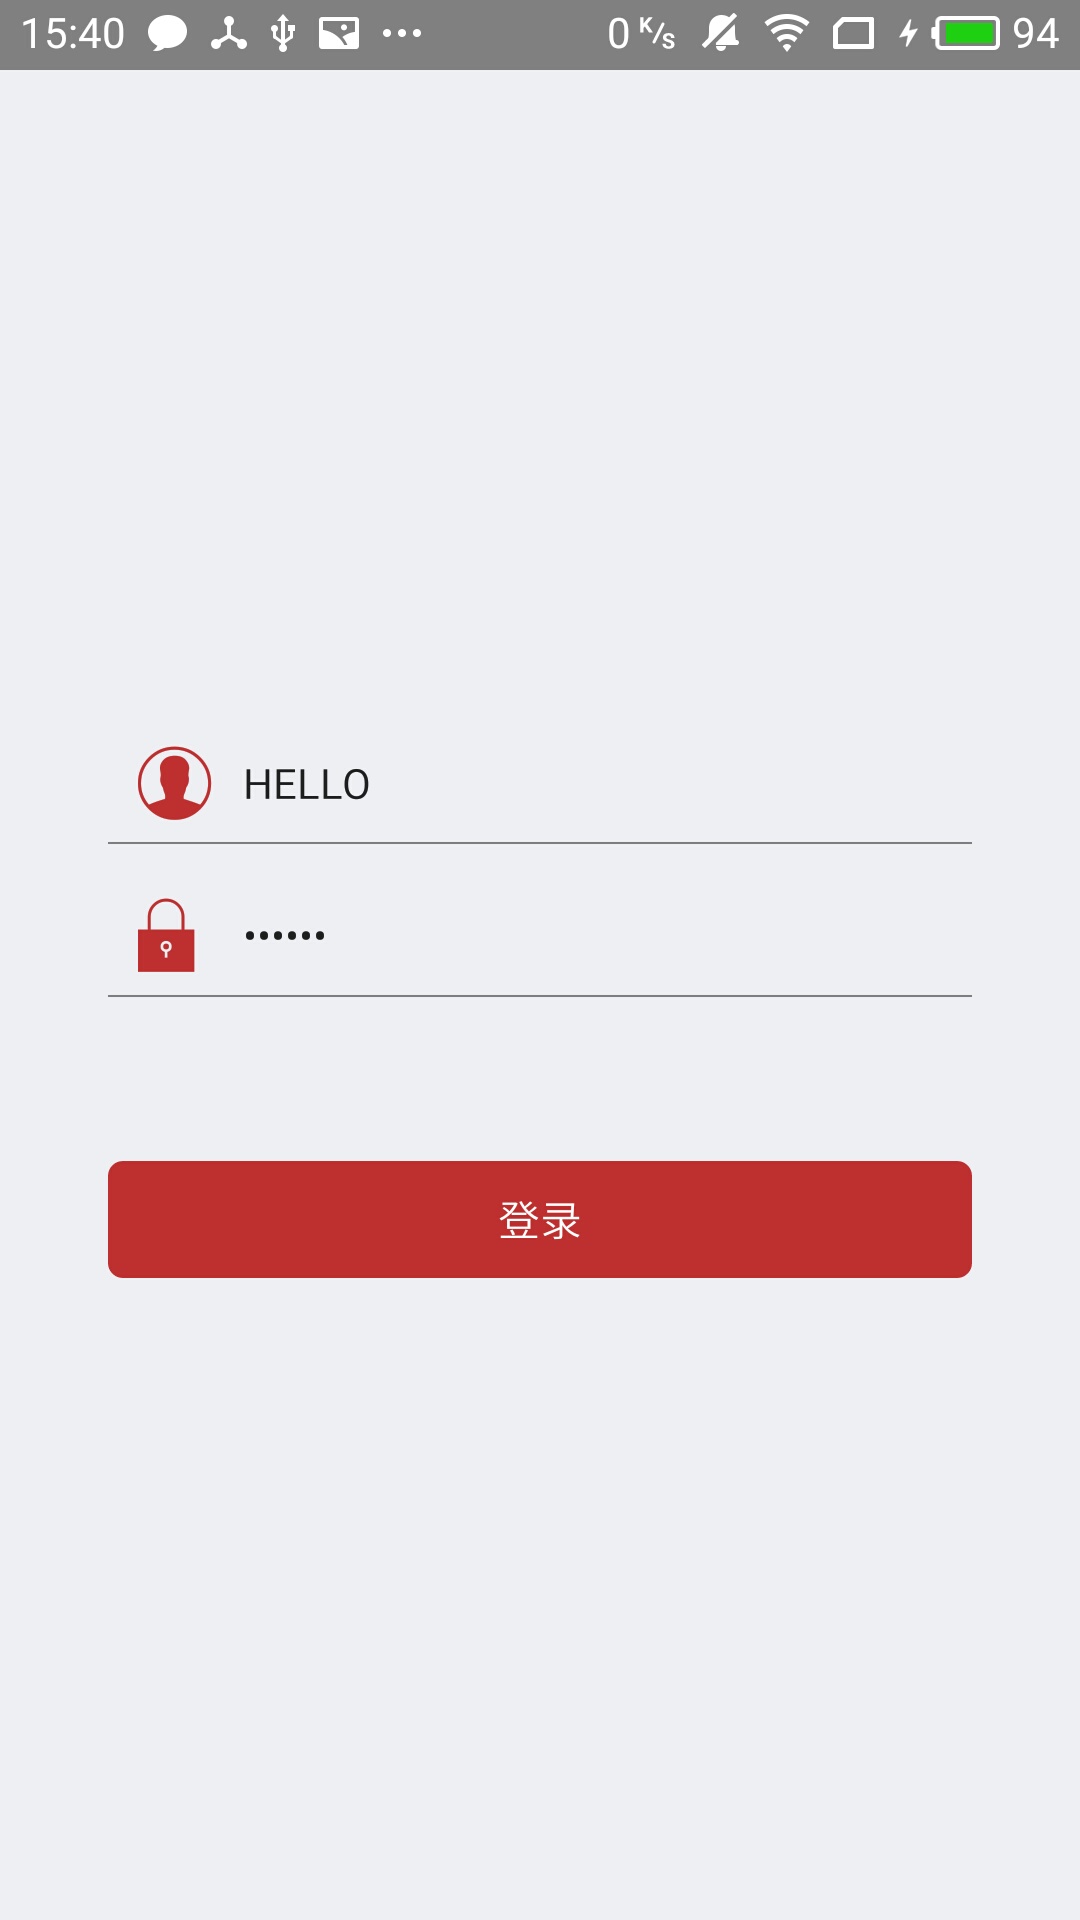

代码1
2
3
4
5
6
7
8
9
10
11
12
13
14//传值
<TouchableOpacity activeOpacity={0.9} onPress = {
()=>{
console.log(this.state.username);
nav.navigate('home',{username:this.state.username,password:this.state.password})}}>//传值
<Text style={styles.btnLogin}>登录</Text>
</TouchableOpacity>
//接收值
const {
navigation
} = this.props
const username = navigation.getParam('username', '');
const password = navigation.getParam('password', '');
源代码
声明:文章是从CSDN迁过来的.CSDN博客请点击这里

