最近在写底部导航栏,平时用到的就常见了,不过Material Desigh的导航栏却用的不多。在谷歌官方文档上有这种设计,可惜却没用过。所以学习了一下,这里记录下来。
那么BottomNavigationBar是什么样子呢?请看图

这个是Google Material上面的图。可以看到有谷歌对设计的建议
下面看下我的效果图:

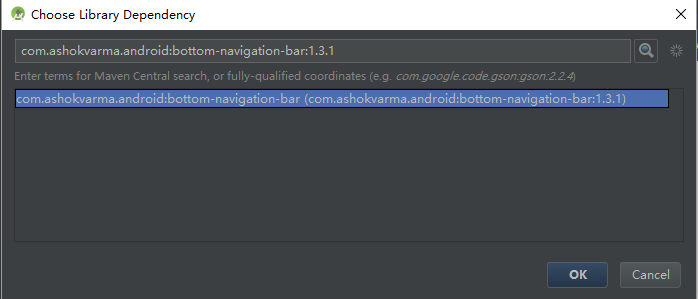
添加依赖
首先使用BottomNavigationBar前要添加依赖。
布局代码:
1
2
3
4
5
6
7
8
9
10
11
12
13
14
15
16
17
18
19
20
21
22
| <?xml version="1.0" encoding="utf-8"?>
<RelativeLayout
xmlns:android="http://schemas.android.com/apk/res/android"
xmlns:tools="http://schemas.android.com/tools"
android:id="@+id/activity_main"
android:layout_width="match_parent"
android:layout_height="match_parent"
tools:context="com.student.kevin.bottomnavigationbar.MainActivity">
<LinearLayout
android:id="@+id/ll_content"
android:layout_width="match_parent"
android:layout_height="match_parent"
android:orientation="vertical"
android:text="Hello World!"></LinearLayout>
<com.ashokvarma.bottomnavigation.BottomNavigationBar
android:id="@+id/bottom_navigation_bar"
android:layout_width="match_parent"
android:layout_height="wrap_content"
android:layout_alignParentBottom="true"></com.ashokvarma.bottomnavigation.BottomNavigationBar>
</RelativeLayout>
|
也就是与其他布局使用方法一样,直接在布局里面添加就行了。
代码中的使用
1
2
3
4
5
6
7
| mBottomNavigationBar = (BottomNavigationBar) findViewById(R.id.bottom_navigation_bar);
mBottomNavigationBar.addItem(new BottomNavigationItem(R.drawable.icon_one, R.string.tab_one).setActiveColorResource(R.color.green).setBadgeItem(badgeItem))
.addItem(new BottomNavigationItem(R.drawable.icon_two, R.string.tab_two).setActiveColorResource(R.color.orange))
.addItem(new BottomNavigationItem(R.drawable.icon_three, R.string.tab_three).setActiveColorResource(R.color.lime))
.addItem(new BottomNavigationItem(R.drawable.icon_four, R.string.tab_four))
.setFirstSelectedPosition(0)
.initialise();
|
这样底部导航栏就有了,是不是很简单。相比平时写的导航栏确实简单的很多。这样还不行,光有导航栏了,还要有监听,因为我们要根据点击导航栏的tab来切换不同的fragment。所以要添加监听事件。
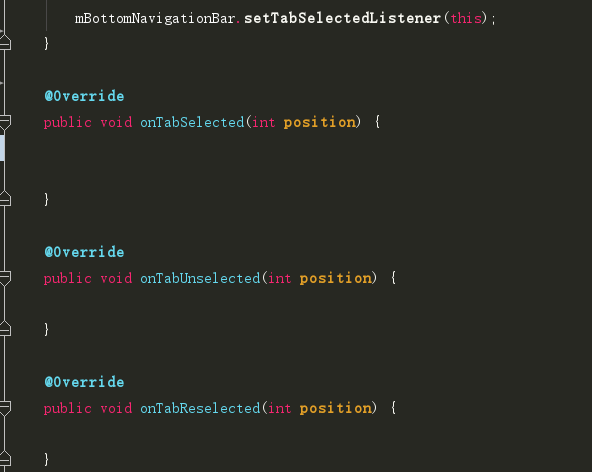
添加监听,重写方法,我们最常做的事情
这样在重写的方法里进行Fragment的切换即可
1
2
3
4
5
6
7
8
9
10
11
12
13
14
15
16
17
18
19
20
21
22
23
24
25
26
27
28
29
30
31
32
33
34
35
36
37
38
39
40
41
42
43
44
45
46
47
48
| @Override
public void onTabSelected(int position) {
FragmentTransaction transaction = getSupportFragmentManager().beginTransaction();
switch (position) {
case 0:
if (mFragmentOne == null) {
mFragmentOne = FragmentOne.newInstance("First Fragment");
}
transaction.replace(R.id.ll_content, mFragmentOne);
break;
case 1:
if (mFragmentTwo == null) {
mFragmentTwo = FragmentTwo.newInstance("Second Fragment");
}
transaction.replace(R.id.ll_content, mFragmentTwo);
break;
case 2:
if (mFragmentThree == null) {
mFragmentThree = FragmentThree.newInstance("Third Fragment");
}
transaction.replace(R.id.ll_content, mFragmentThree);
break;
case 3:
if (mFragmentFour == null) {
mFragmentFour = FragmentFour.newInstance("Forth Fragment");
}
transaction.replace(R.id.ll_content, mFragmentFour);
break;
default:
if (mFragmentOne == null) {
mFragmentOne = FragmentOne.newInstance("First Fragment");
}
transaction.replace(R.id.ll_content, mFragmentOne);
break;
}
transaction.commit();
}
@Override
public void onTabUnselected(int position) {
}
@Override
public void onTabReselected(int position) {
}
|
这样出现的只是默认的效果,我们如果要自己需要的颜色背景呢?
当然有方法
个性化BottomNavigationBar
BottomNavigationBar已经提供给了我们方法
1
2
| mBottomNavigationBar.setMode(BottomNavigationBar.MODE_SHIFTING);
mBottomNavigationBar.setBackgroundStyle(BottomNavigationBar.BACKGROUND_STYLE_STATIC);
|
Mode和BackgroundStyle分别有三种,分别包含一种Default模式
效果图
这里截取几种效果图:


SHIFTING+STATIC效果这里就不传了,通过对比可以发现,默认的效果其实就是SHIFTING+STATIC效果
设置导航栏颜色
当然导航栏的颜色也是可以设置成固定颜色的,刚开始的效果图可以看到导航栏是蓝色。默认颜色的colorAccent
1
| mBottomNavigationBar.setBarBackgroundColor(R.color.blue);//set background color for navigation bar,设置底部导航栏颜色
|
添加黄色小圆点
还上面的效果图上可以看到,第一个tab上面有一个黄色的小圆点。这跟小红点是一样的,只是我设置颜色为黄色的了。
这个就是添加了一个BadgeItem.
1
2
3
4
5
6
7
8
| BadgeItem badgeItem = new BadgeItem();
badgeItem.setHideOnSelect(false)
.setText("10")
.setBackgroundColorResource(R.color.orange)
.setBorderWidth(0);
mBottomNavigationBar.addItem(new BottomNavigationItem(R.drawable.icon_one, R.string.tab_one).setActiveColorResource(R.color.green).setBadgeItem(badgeItem));
|
不知道有没有感觉这个很好用呢?我感觉还不错,有需要的可以看一下哦~
有CSDN的可以下载一,没有的可以下载github。看方便喽
如果想用其他方法,也可以查看这篇文章:
五种方式实现Android底部导航栏
Demo下载

